We have used this style a couple of times in the office and I am a big fan of it. It is also really simple to implement. The idea is to apply a mask over a full resolution illustration to break up the edges giving the illustration a collage-like feel. The great thing about this technique is that while you are getting a less formal collage style, the image still has all of its information, detail, and resolution where it counts.
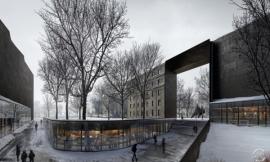
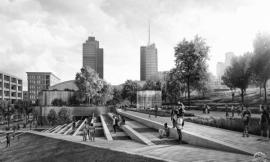
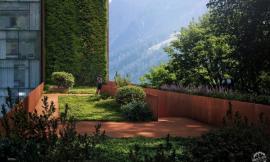
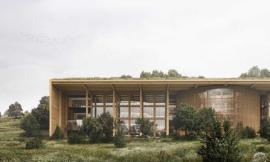
I have chosen two new views of my wharf design to show how it works. The mask is best applied at the very end which means a full illustration edge to edge is still necessary. This also means if the mask isn’t working, it is no big deal and can be removed without any harm to the illustration.
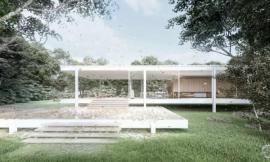
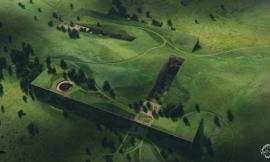
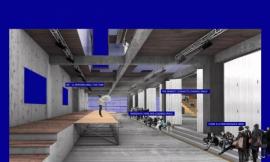
Below is the full frame base rendering before masking (desaturated to better show the masking).
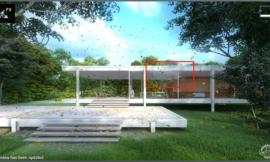
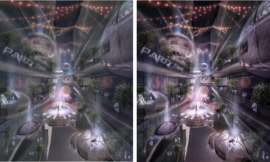
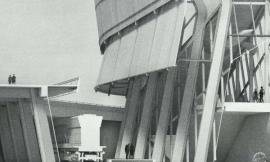
The blue represents what I masked off. The mask was made by creating a new layer and moving it to the top of the other layers. I then selected the “Polygonal Tool” and began selecting areas that I wanted to mask. Once the selection was made, I filled in the selection with a white paint. I went through many of iterations testing out what areas should be masked and what works best compositionally. I experimented with softening the edges or lowering the opacity, however, I ultimately preferred the crisp edges and the sharp contrast between the white and rendered areas.
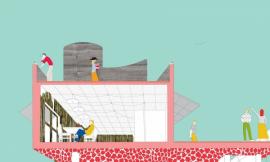
这只是个简单操作,但一旦完成,会改变整个图象的基调。
It is a simple move, but one that completely changes the tone of the image.
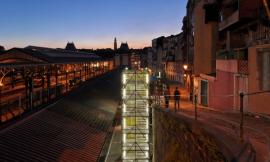
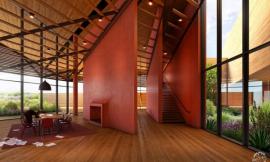
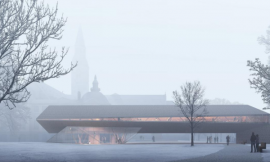
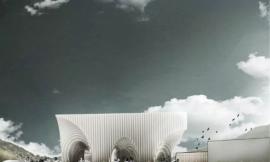
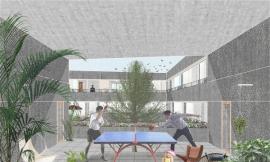
最后一张图是用V-Ray渲染的,分辨率是4500px X 2500px。然后我改变颜色、纹理,并在Photoshop里加了一些人。最后,我跳转到Topaz Labs PS plugin插件里来突出细节。
The final illustrations were rendered with V-Ray at a resolution of 4500px X 2500px. I then tweaked colors, textures, and added people in Photoshop. Finally, I jumped into my Topaz Labs PS plugin to punch up the detail.