Making of A Kitchen with Corona Renderer
由专筑网杨帆,刘庆新编译
三角形式的创始人Tomek Michalski分享了使用Corona渲染厨房场景的过程。这其中也展示了他的厨房设备收藏。按照他所描述的制作过程,是依靠Corona渲染和PS图象处理软件进行最后的润色。
Tomek Michalski, the Founder of Triangle Form, shares the making-of this Kitchen scene with Corona Renderer. This one was built to showcase his Kitchen Equipment collection. Follow him as he describes his process, relying on Corona Renderer and Photoshop for the final touches.
介绍
这个厨房场景是为了展示三角形式厨房设备的3D模型的集合。显示它们在原来的环境中是很合乎逻辑的事情,这个厨房场景是专为这次任务而建立的。
以下是最后完成的几张效果图。
Introduction
This kitchen scene was made to showcase Triangle Form‘s Kitchen Equipment 3d model collection. Showing them in their original environment seemed the most logical thing, and so a Kitchen scene design and built for this task.
Here are the final images produced for this purpose…
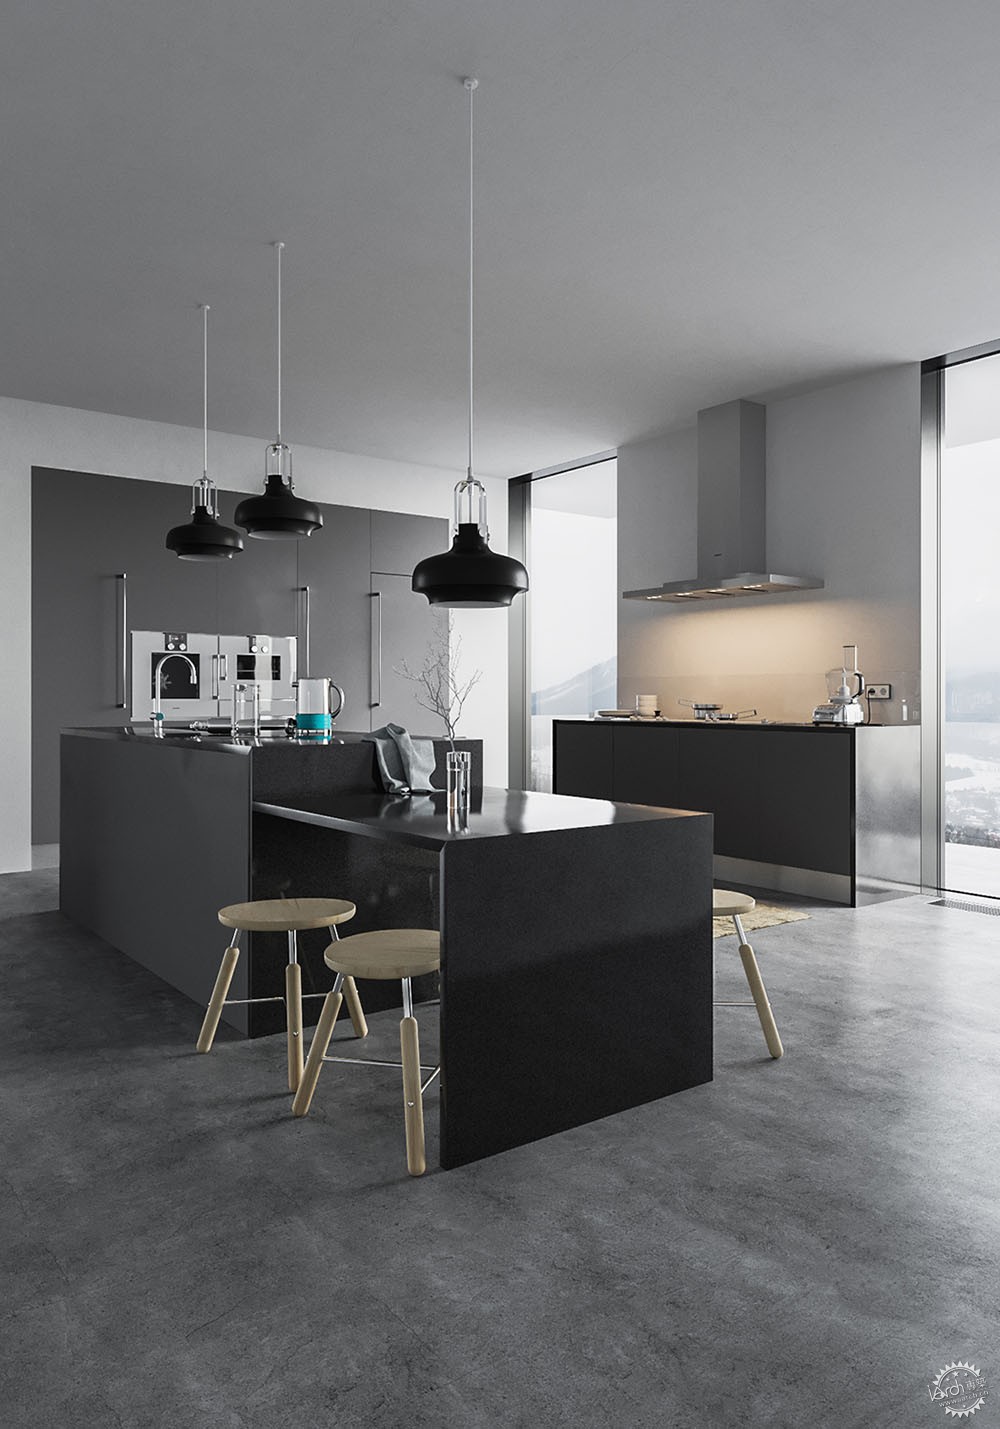
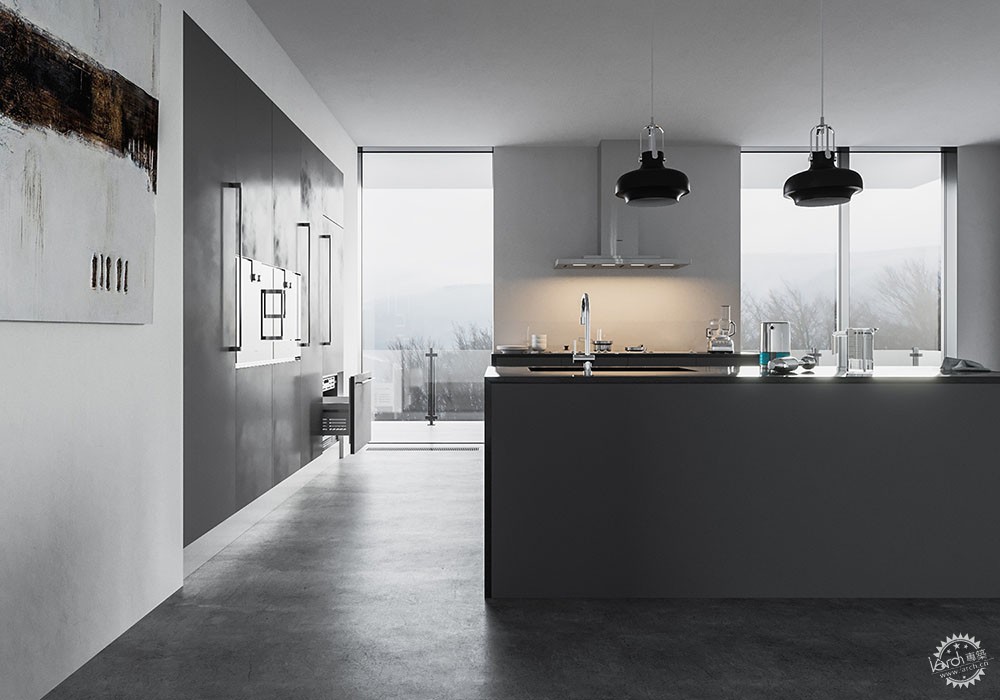
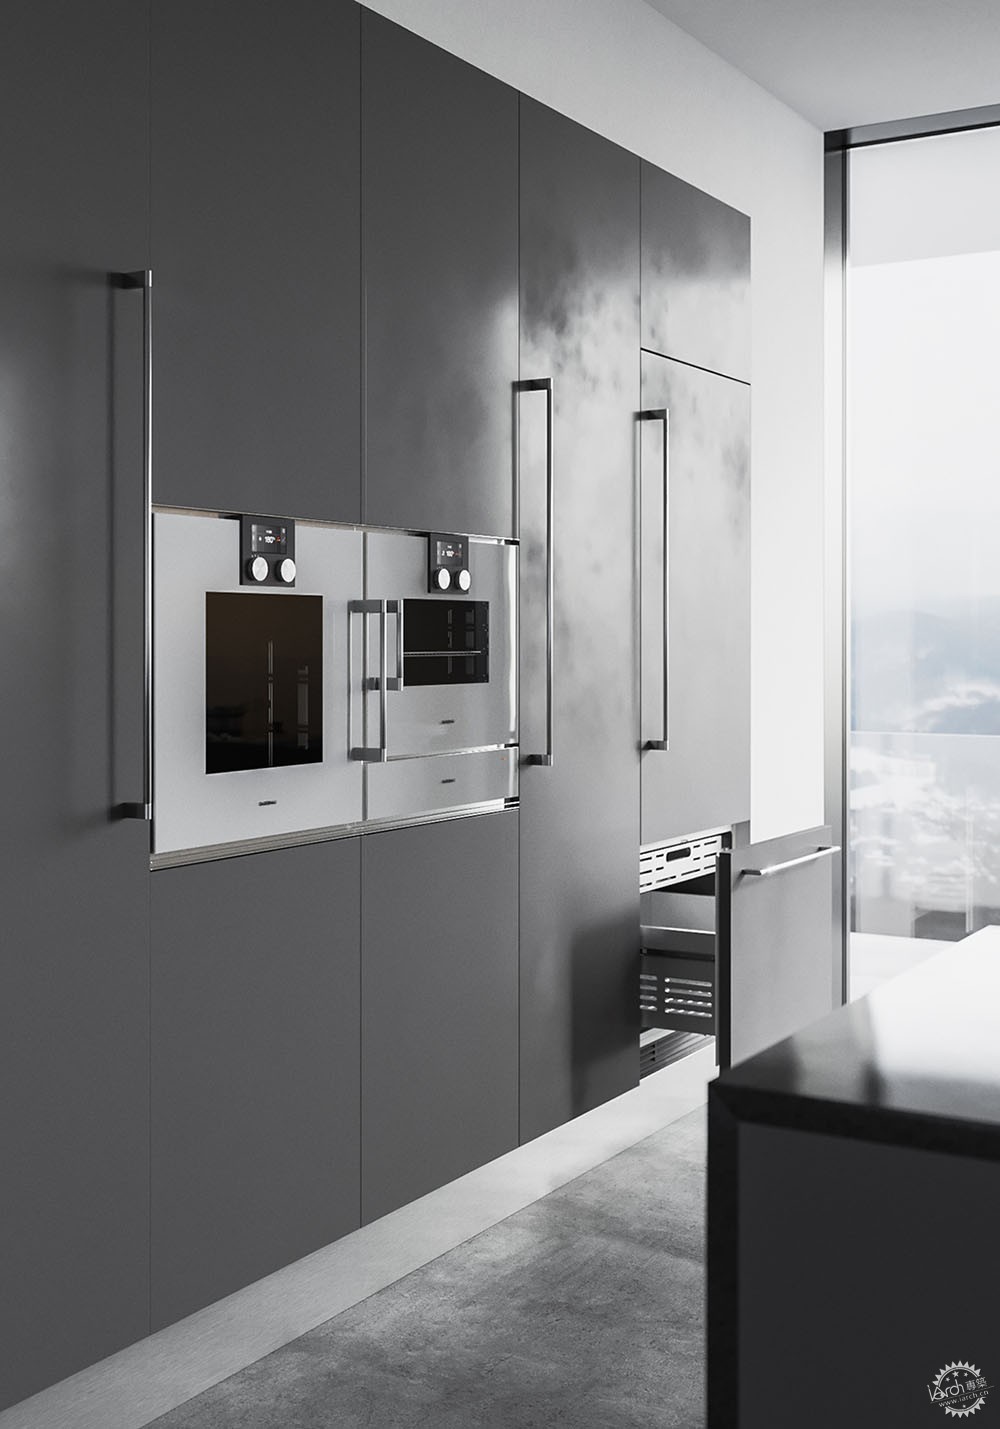
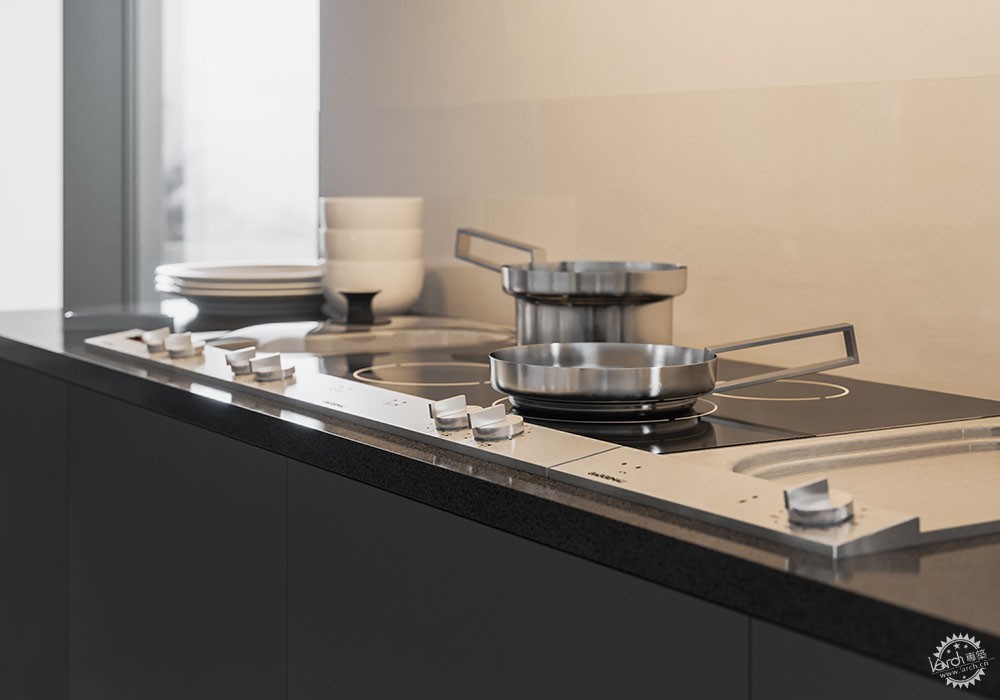
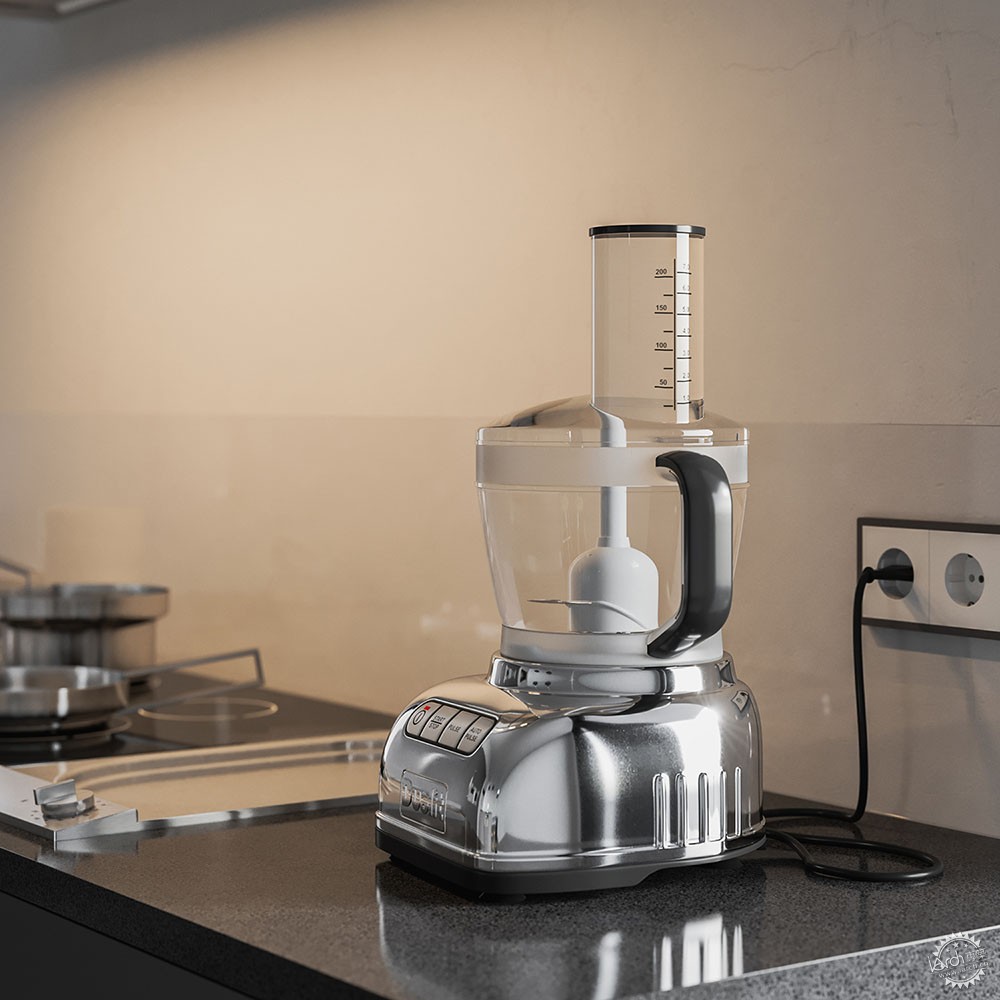
所有的渲染工作都是通过3ds max和Corona 渲染完成的。
我必须找到一种方法,以适应这次渲染中的21个过程项,确保营造整体的厨房外观和良好的氛围。首先必须要寻找一些灵感!
All renderings were done using 3ds max and Corona Renderer.
I had to find a way to fit in all of the 21 items in this rendering series, making sure the overall kitchen look & feel is a good one. For that one must search for some inspiration first!
设计灵感
通过网上的搜索,我发现了两点灵感来源。呈现出一种低调的方法和一个很好的融合的暗色系橱柜及其木质纹理,我将它们运用到了我的设计中。
Inspiration
So, searching the web I found mainly two pieces of inspiration shown below. Showing a toned down approach and a really nice blend of dark cabinetry and wood tones, which I used as an accent in my final design.

以下是我通常寻找灵感会搜索的几个网站:
• fubiz.net
• blog-espritdesign.com
• opumo.com
• pinterest.com
• designboom.com
Pinterest具有很好的制板功能,可用于服务最终的moodboard数据集成。
Among my usual sources for inspiration you can find :
• fubiz.net
• blog-espritdesign.com
• opumo.com
• pinterest.com
• designboom.com
Pinterest is really nice with the board making feature, serving as a BIG moodboard eventually.
Moodboard数据应用
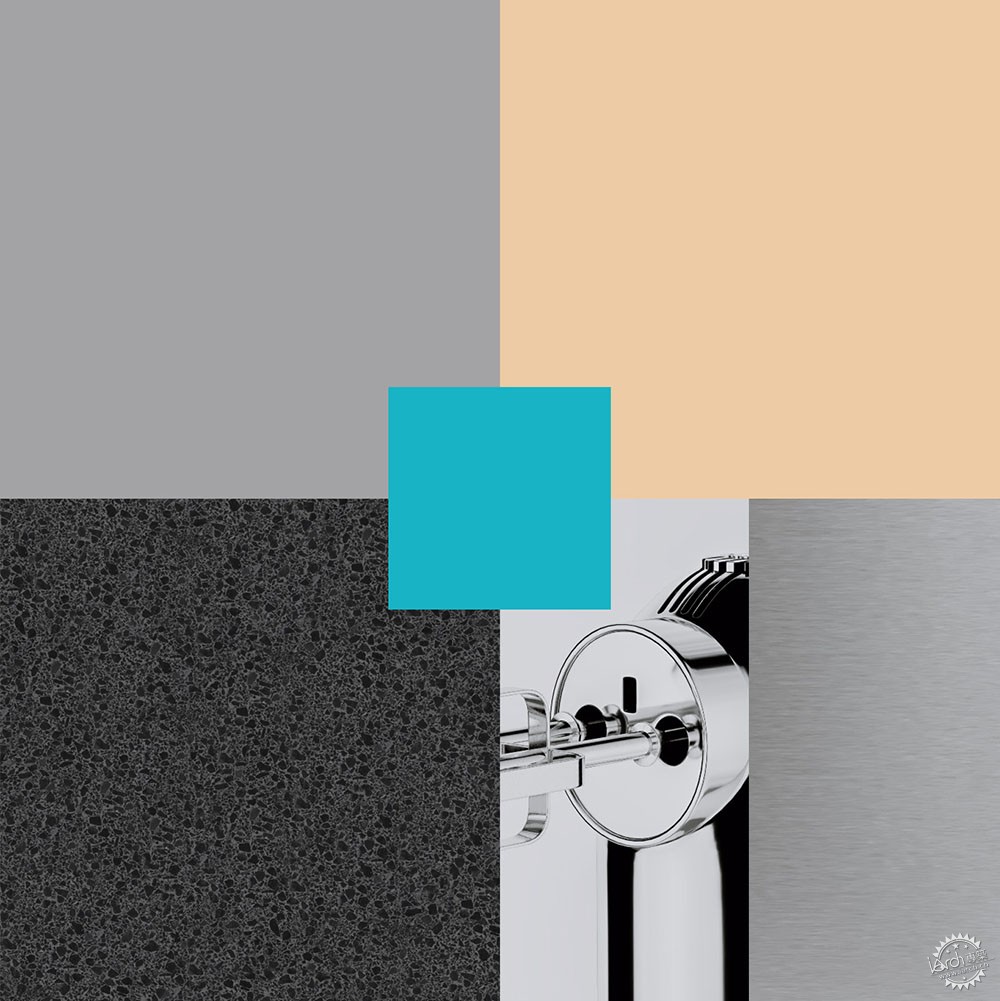
我通常会设置一个项目来源,将项目的特点集中在一处,这样能更好地选择合适的颜色方案。我总是可以在短短的扫视后,仍保持我的重点,因为新的想法总是试图潜入!
The Moodboard
I usually set a project moodboard, gathering the characteristics of the project on one board in order to stick to the chosen colour scheme as much as possible. I can always refer back to this one in a short glance and keep my focus as new ideas always try to sneak in!
场景设置
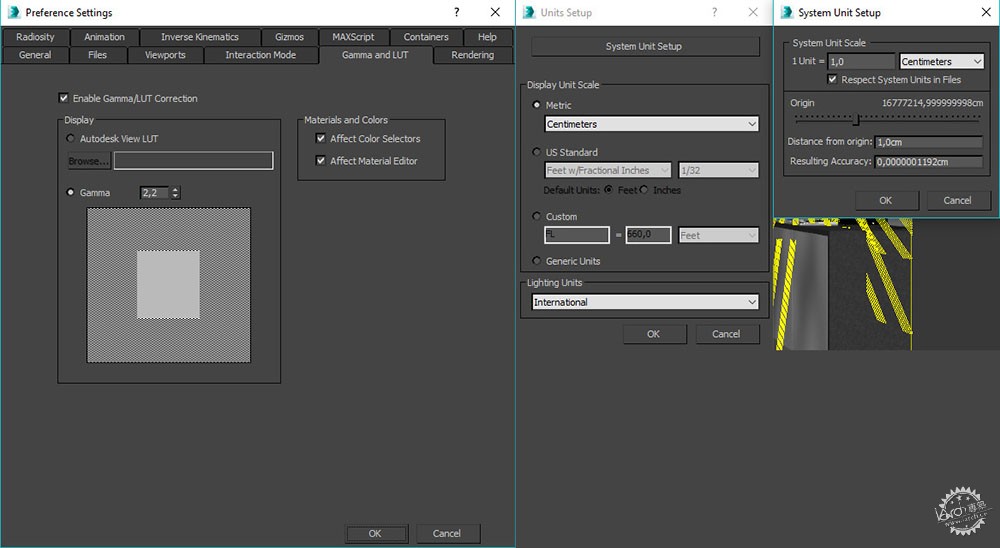
在Corona渲染中的Gamma 设置与在V-Ray中是相同的。
我使用的设置单位是厘米。它们对我来说是运用最普遍的两个外部和内部渲染器。
The Scene Setup
Gamma settings in Corona Renderer are the same as in V-Ray.
Units setup that I’m using is centimeters. They are for me the most universal to both exteriors render and interiors render.
3D建模
你可能看到我的制作过程是十分简单便捷的。
我没有花很多时间在3D建模上。模型非常简单。
对我来说重要的是在灯光和镜头的质量。我使用的模型都是从厨房设备库运用到场景中的,运用了3dsMAX ,V-Ray和 Corona以及有些平台使用的4D影院+ vray渲染软件。
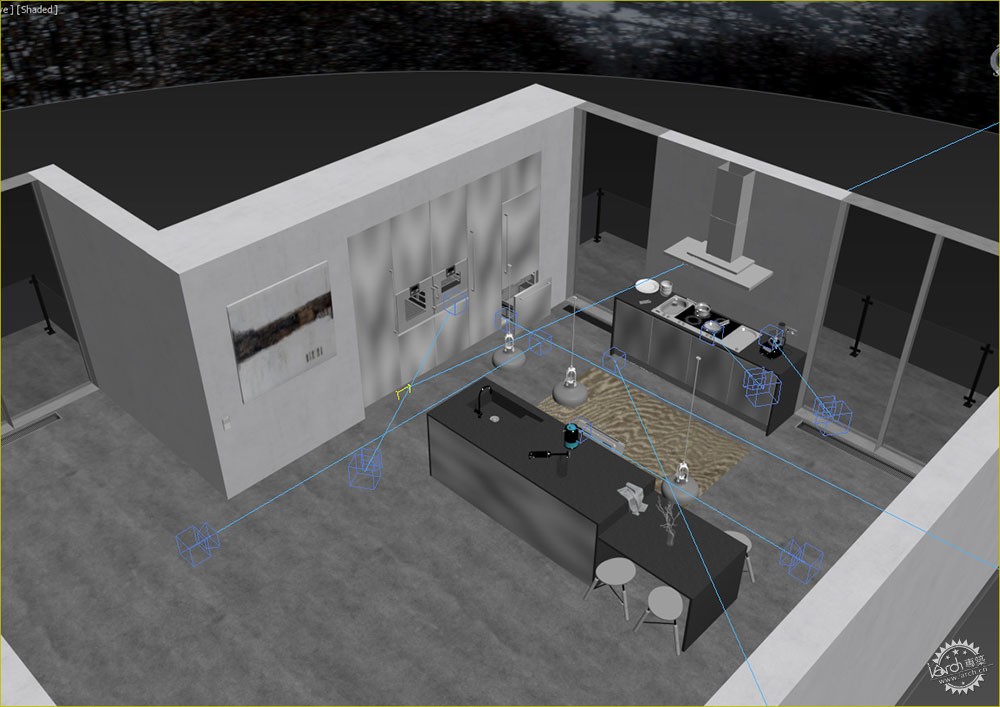
以下是整个厨房的全景:
3D Modeling
You probably see I aimed at making that part easy for me
I didn’t spend a lot of time on 3d modeling. The models are very simple.
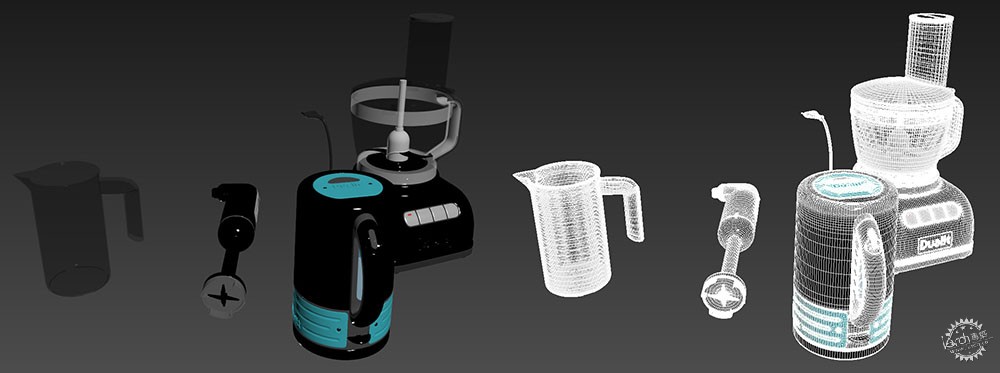
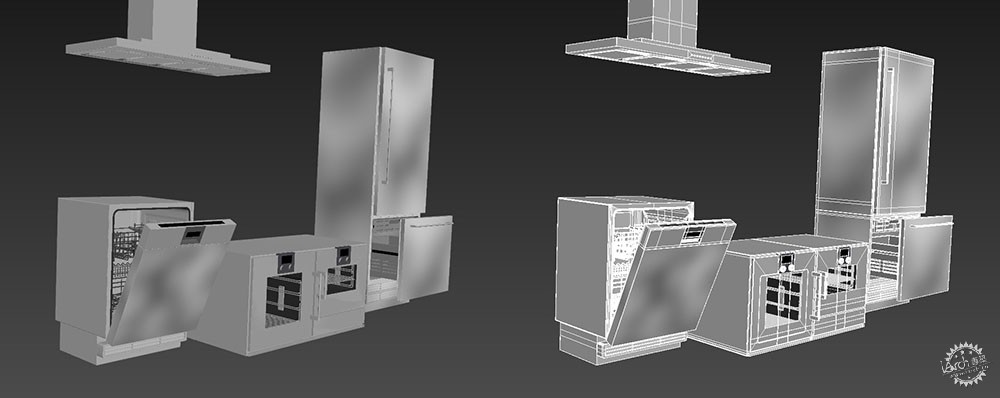
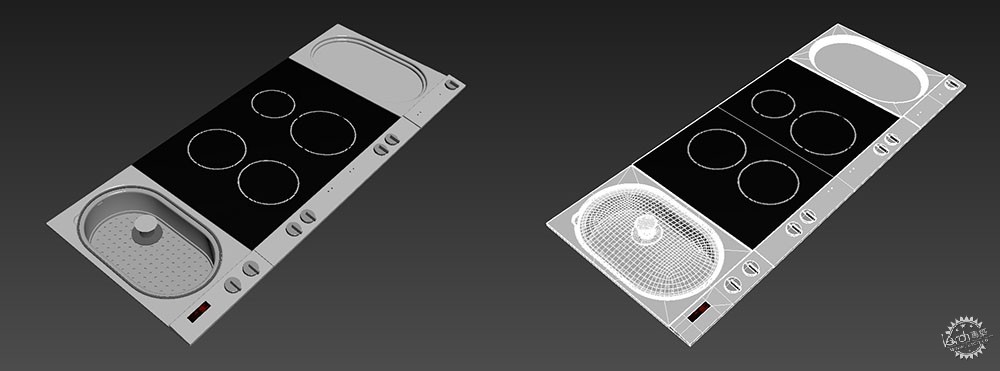
The importance for me was in the lighting and photographic quality of the shots. I used models from the Kitchen Equipment collection to populate the scene, which works with 3dsmax V-Ray and Corona as well as Cinema 4D + V-Ray for those who use that platform.
Here is the kitchen scene overview :
还有一些模型的集合:
And some of the collection models too :
照明设置
在这里,我采取了一个非常简单的方法,并得到了很好的效果。
我只采用了Corona照明设置:太阳、天空以及遮光罩照明的灯光。
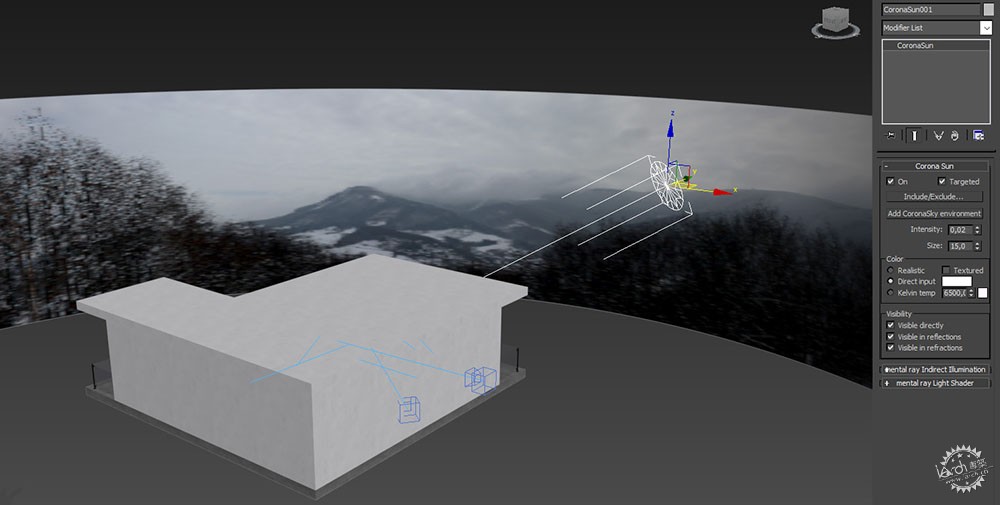
• 太阳的光照稍显模糊和微弱,但正好与窗口后面朦胧的多云背景相适应。
• 天空的设置使得整个视图加入了小小的蓝色光线。
• 遮光罩照明的灯光是给人以温暖感觉的。
Lighting
Here also, I took a very simple approach which Corona really allows you to do and get great results with.
I only used Corona light : Corona Sun and Corona Sky as well as Corona Light for the ventilation hood lighting.
• The Corona Sun is slightly blurred and fragile so that it fits with the hazy, cloudy background behind the window.
• The Corona Sky is tweaked so that little blue light enters through the windows.
• The light coming out of the hood is warm.
Corona 阳光设置/Corona Sun Setting
Corona 天空设置/Corona Sky Setting
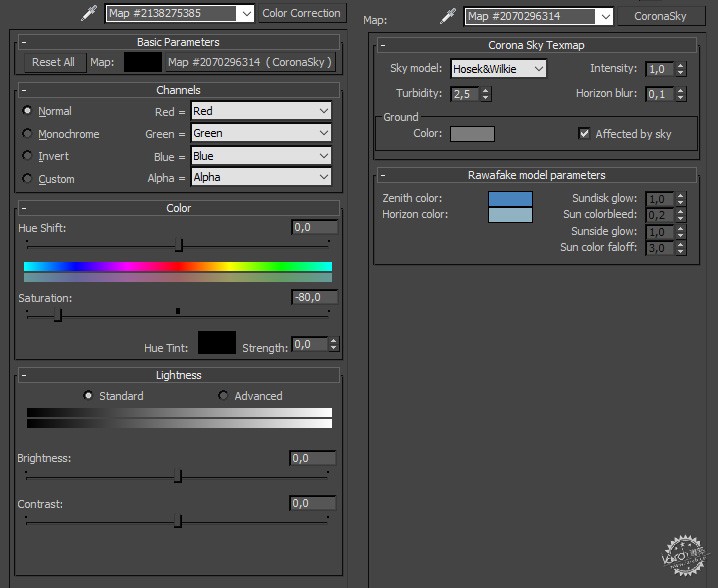
Corona遮光罩灯光设置/Corona Light Setting – The Hood

材质
材质的运用都是很简单的,就不多作展示了。
我喜欢凹凸贴图的形式。一个正常的贴图会提供更好的结果,我用bitmap2material创造我正常的贴图。
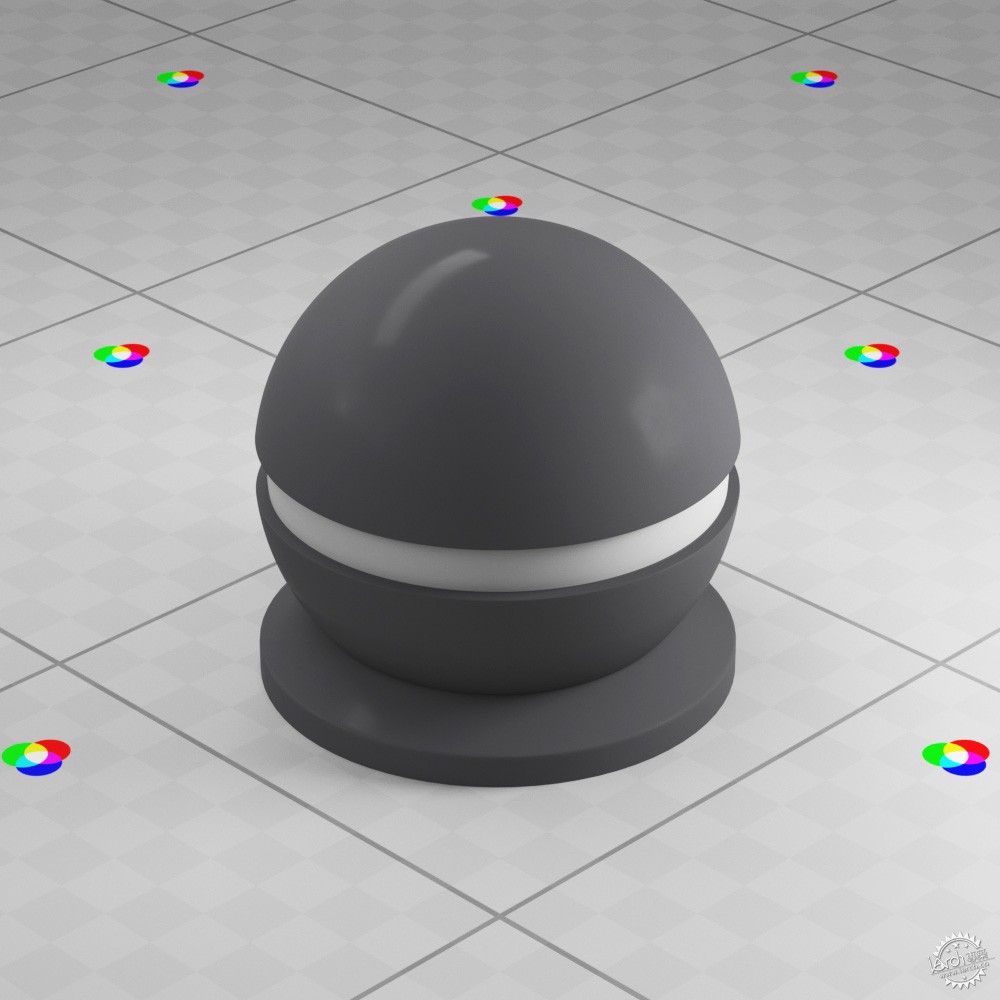
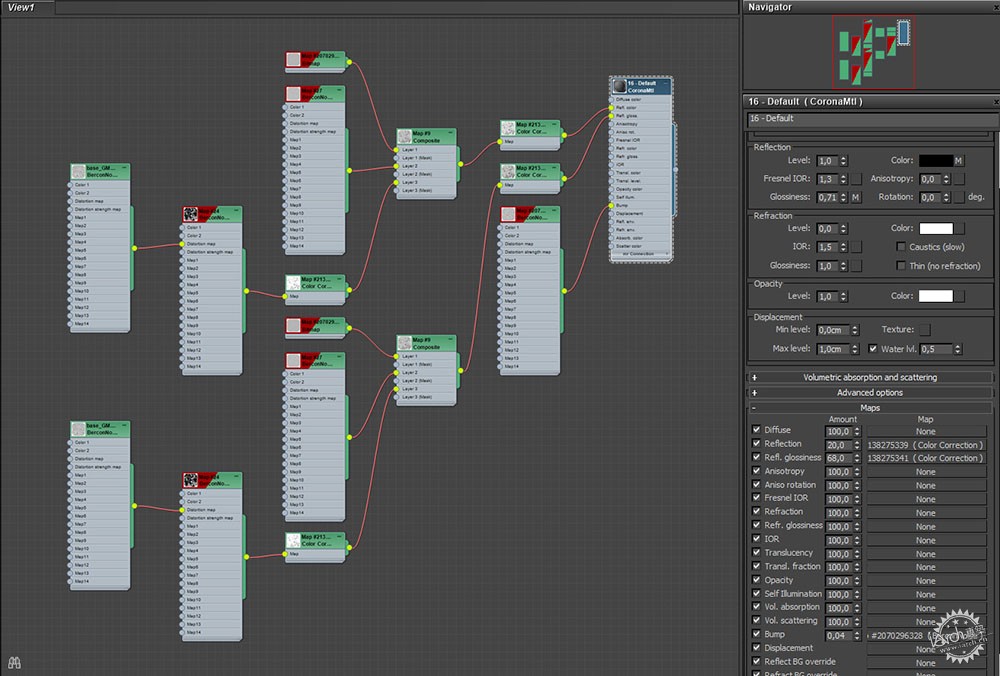
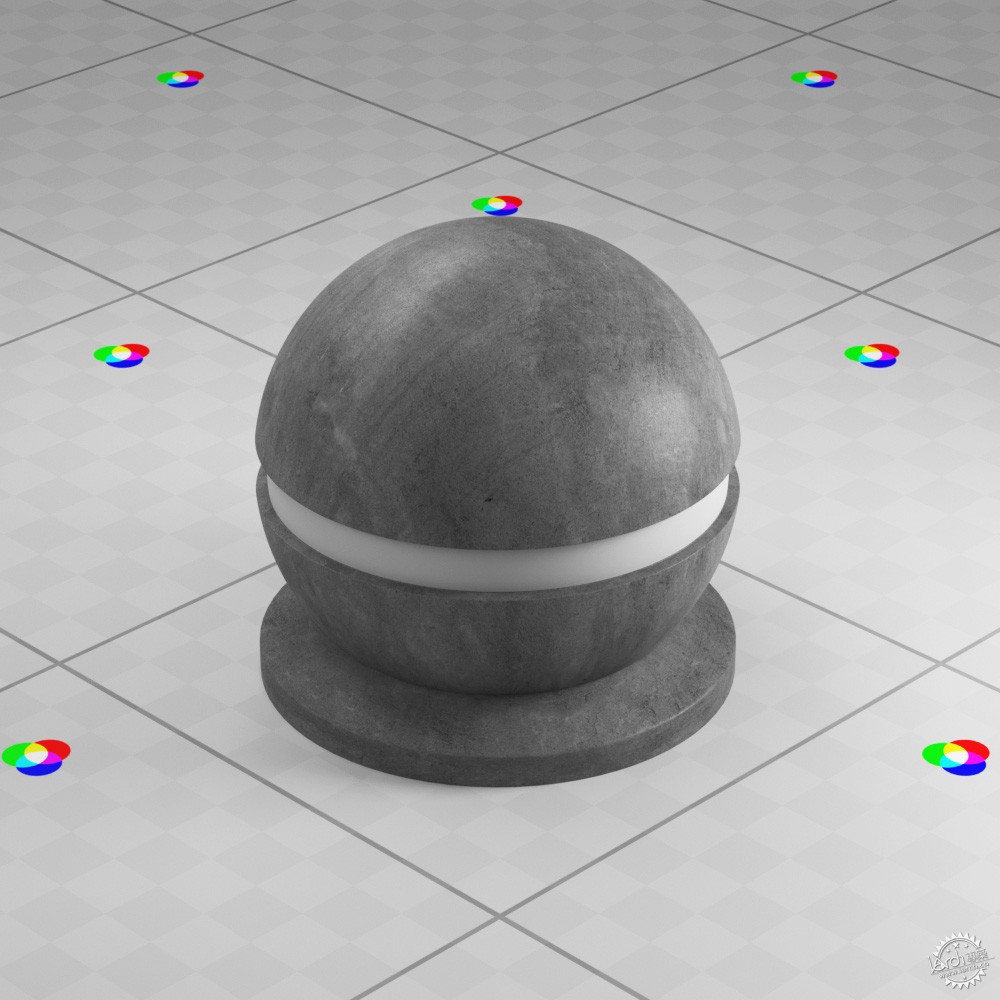
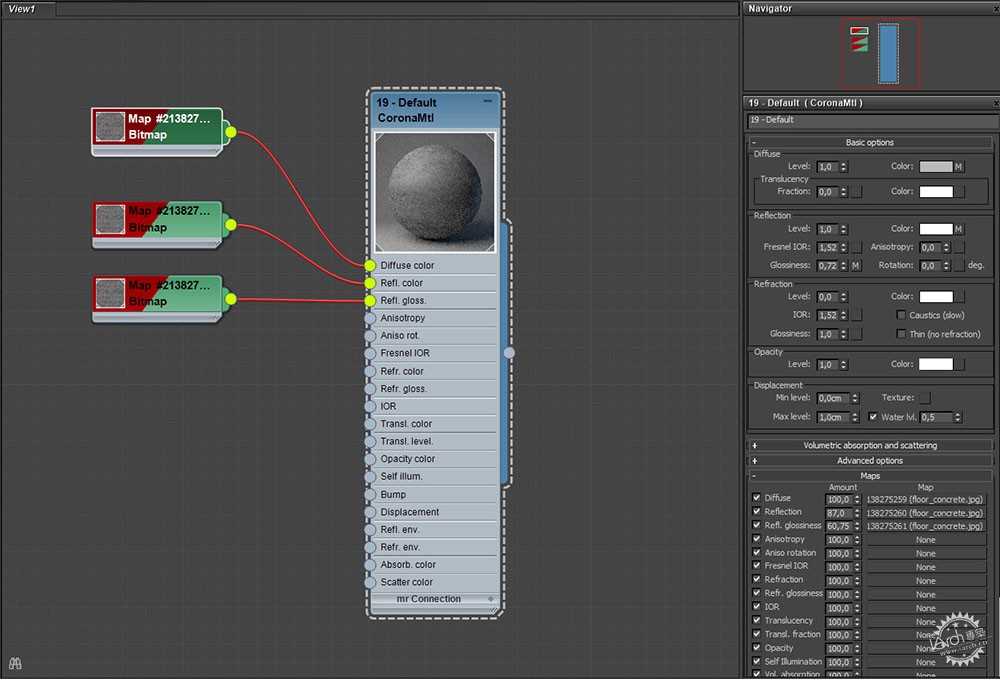
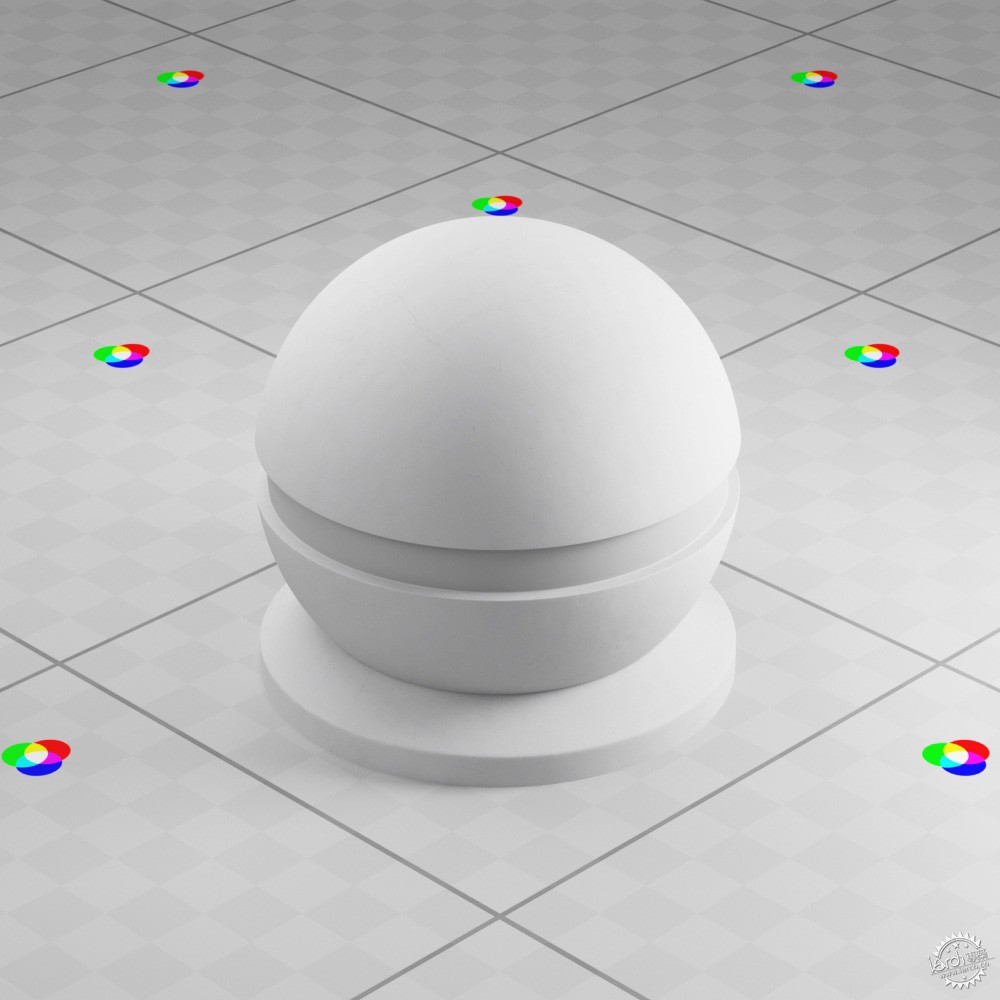
我选择了一些重要的元素进行展示:地毯,灰色橱柜,地板和墙壁。
Materials
Shaders are very simple and there aren’t many to be shown.
I prefer normal map for bump maps. A Normal Map gives better results, and I use Bitmap2Material to create my Norml Maps.
I chose a few important ones which you can see below : the carpet, gray cabinets, floor and walls.
地毯材质/Carpet Shader
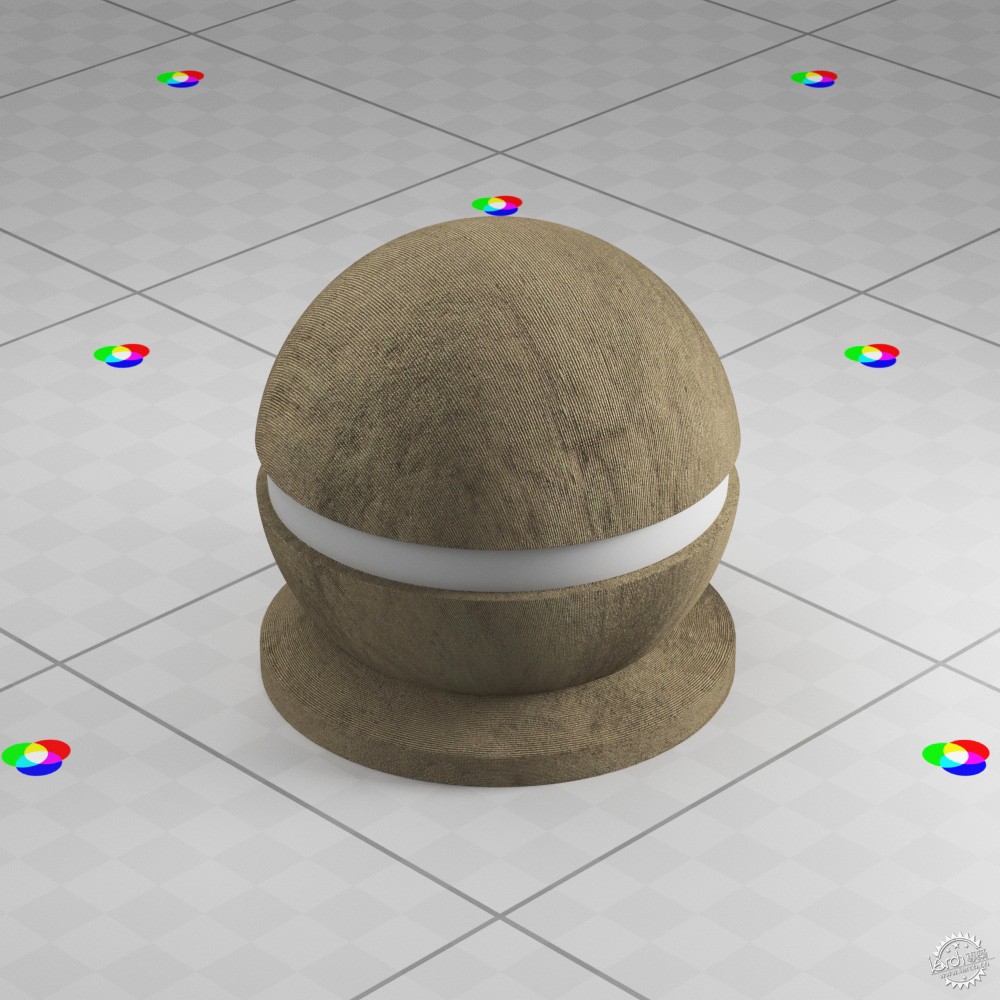
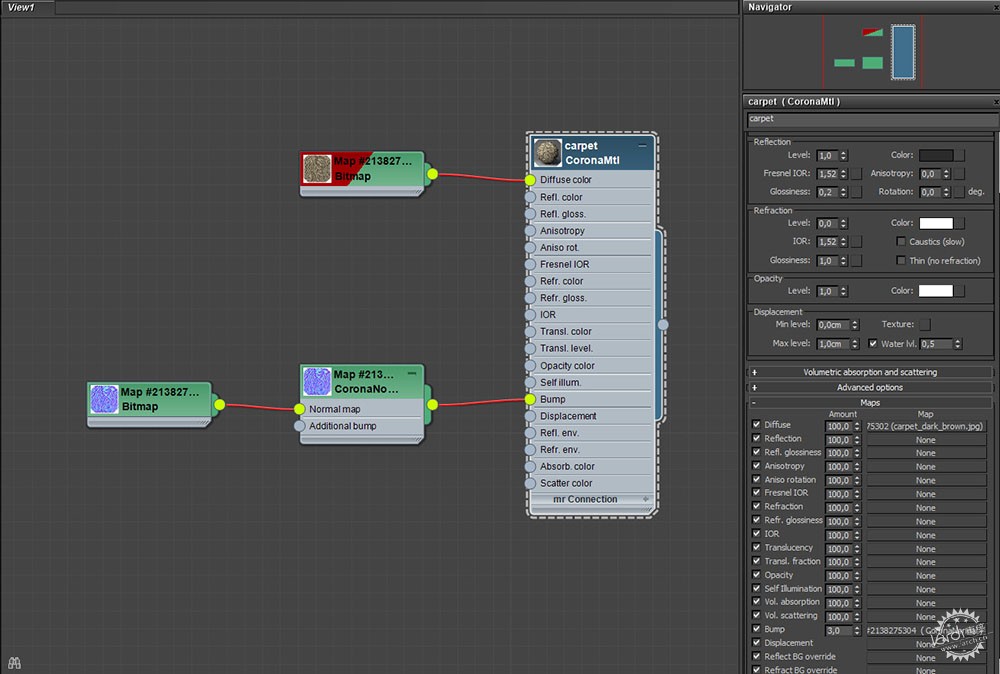
灰色橱柜材质/Gray Cabinets Shader
地板材质/Floor Shader
墙材质/Wall Shader

渲染设置
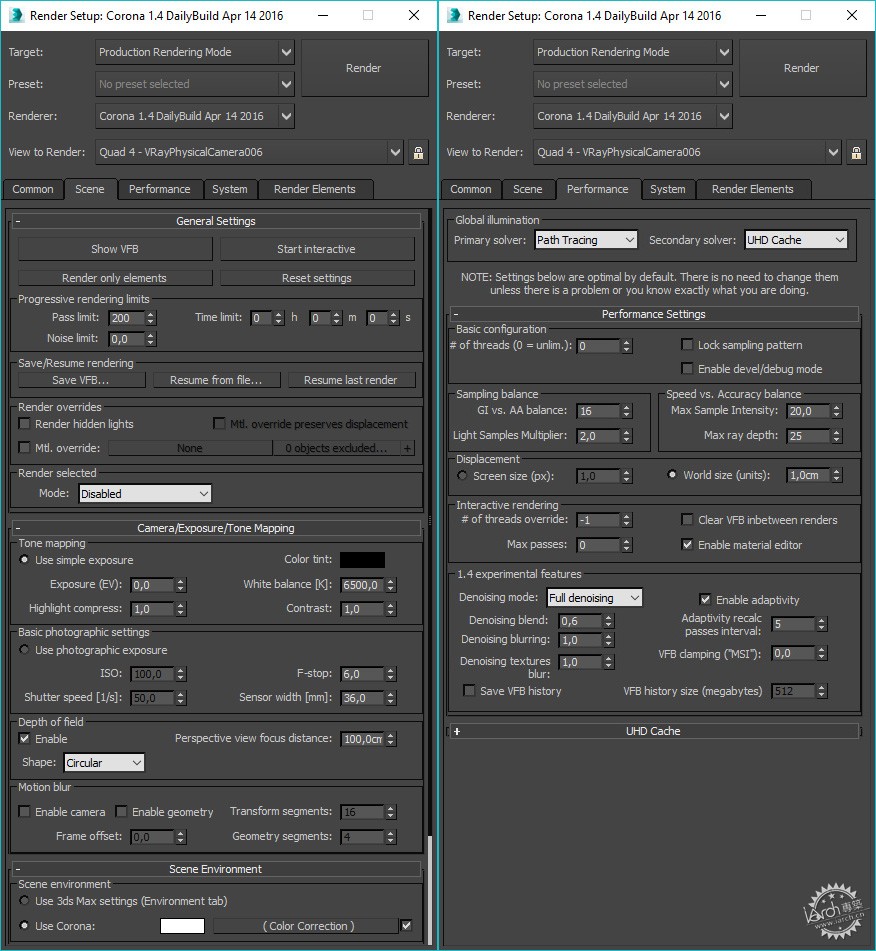
此项目中已使用默认的渲染设置。
制作这个项目我采用了Corona1.4渲染器,它有一个很大的特点——降噪。
这减少了渲染时间,因为噪音减少后,你会得到一个更清洁的图像,否则渲染时间会更长。
你可以在下方的网站上阅读更多关于降噪和corona渲染器的优点。
Rendering Setting
The default render settings have been used in this project.
To render this project I used one of Corona Renderer 1.4 daily builds which includes a great feature – denoiser.
This one shortens the rendering time you can invest since the noise is reduced after and you get a cleaner image – as if rendered longer.
You can read more about the denoiser and Corona Renderer pros here : https://corona-renderer.com/blog/corona-renderer-1-4-for-3ds-max-released/
后期制作
这是我进程中的关键阶段。平衡和良好的质感在这里是非常重要的,以免过度渲染,最后能营造出比较自然的效果。
我运用了Arion FX的PS和Adobe PS CC图像处理软件。
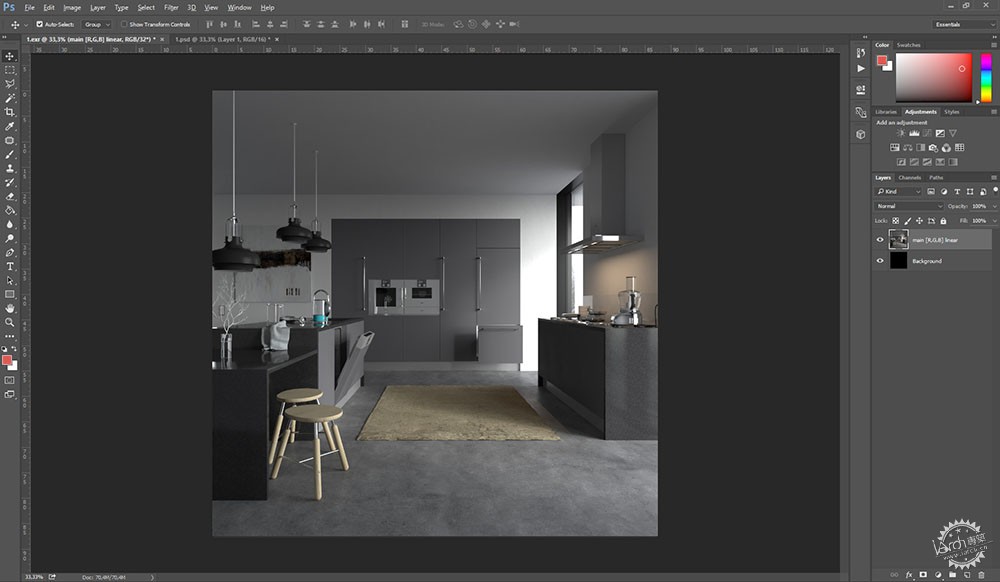
这是PS之前经过渲染的效果图:
Post Production
This is a key stage in my process. Balance and a good instinct are very important here, so as not to go overboard with the contrast, colouring using natural effects.
I use Arion FX for Photoshop and Adobe Photoshop CC.
See the clean render before Arion FX :
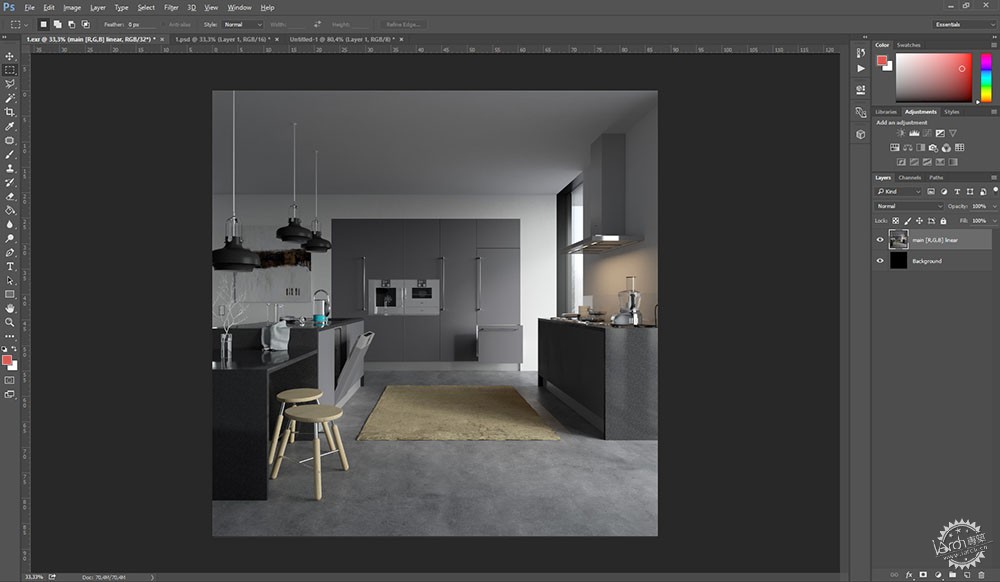
在Arion FX中,我添加了光束、绽放、空间控制、调感等自然影响因素。下面是经过PS后的图像:
In Arion FX, I added natural effects like glow, bloom, controlled burn, tones, etc. Below is the image after Arion FX :
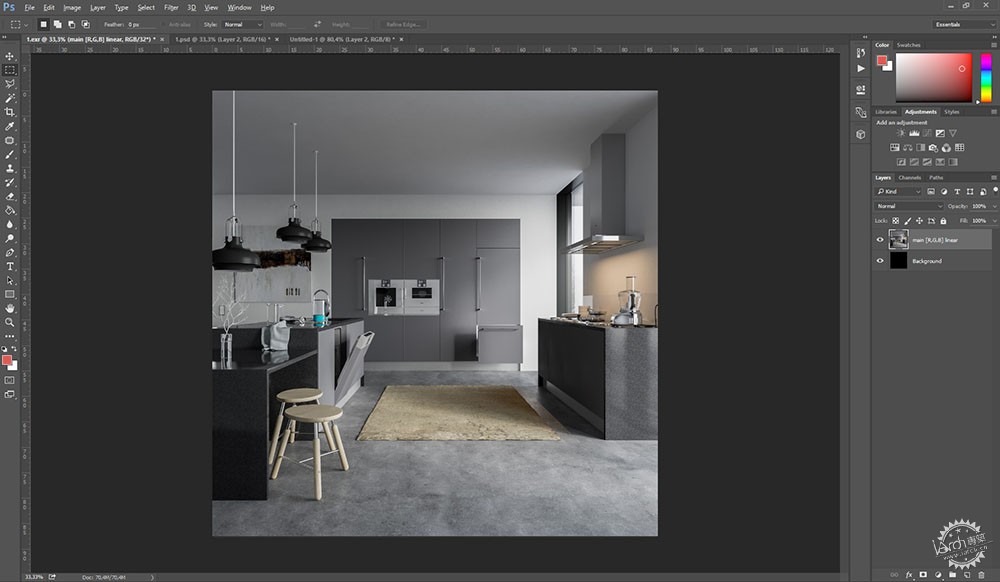
下一步是在PS的相机设置中建立32位源文件。
这一步在PS CC中并不能实现。
这是经过相机设置后的图像:
Next step is post-production 32-bit file in Camera Raw in Photoshop.
You can do it in Adobe Photoshop CC.
Image after Camera Raw :
作为最后一步,我把32位文件转为16位文件,并添加了小的色彩分级。
这是颜色分级后的最终效果图:
As a last step I turned 32 bit file to 16 bit file and added little color grading.
Final render after Color Grading :
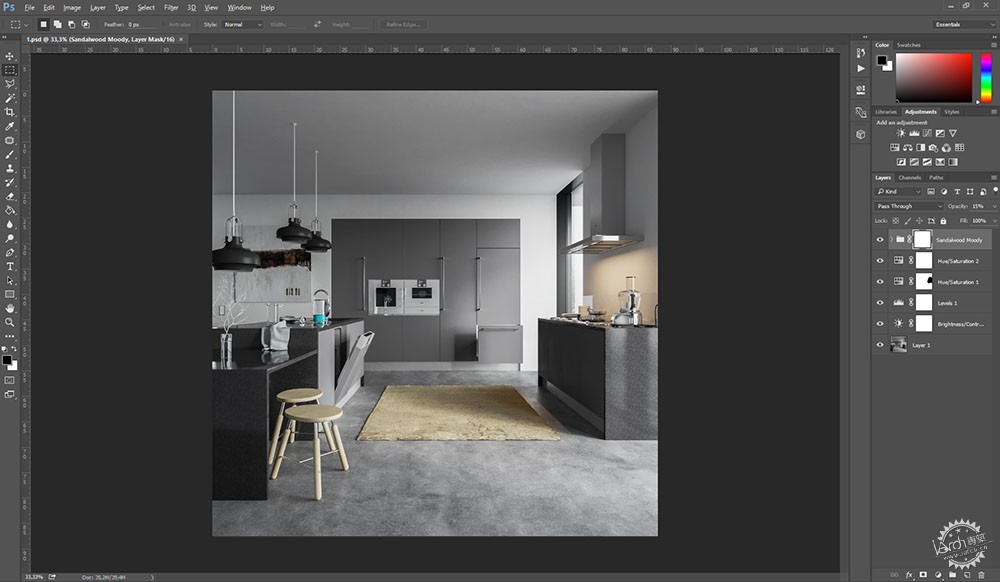
关于后期制作的详细视频教程可以在下面找到。你可以通过EXR文件了解到我工作的每一步过程。
A detailed video tutorial on my workflow in post-production can be found below. You can learn about every step of my work with the .exr file.
大致就是这样!
非常感谢Ronen,可以让我跟更多的读者分享我项目的工作流程。我希望你们中的一些人会在这当中发现一些新的或者有用的方法。
So that is it!
Big thanks to thank Ronen. It is thanks to him that I can share my approach to working with projects and my workflow with a wider audience. I hope that at least some of you will discover something new and useful thanks to this making of.
出处:本文译自www.ronenbekerman.com/,转载请注明出处。
|
|
专于设计,筑就未来
无论您身在何方;无论您作品规模大小;无论您是否已在设计等相关领域小有名气;无论您是否已成功求学、步入职业设计师队伍;只要你有想法、有创意、有能力,专筑网都愿为您提供一个展示自己的舞台
投稿邮箱:submit@iarch.cn 如何向专筑投稿?
