It’s been a while, but I am finally back. I have spent the last several months traveling, giving workshops, settling into a new home, and spending time with family. Needless to say, priorities shifted as they often do and this website unfortunately had to be put on hold. However, I am ready to get back into things and am excited about what is to come.
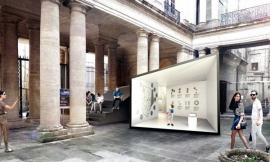
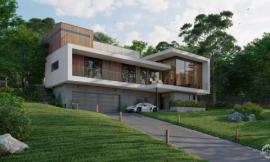
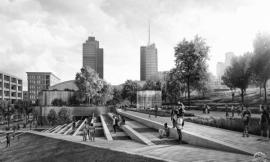
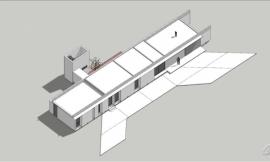
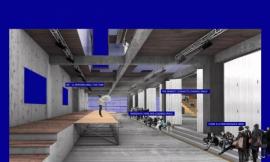
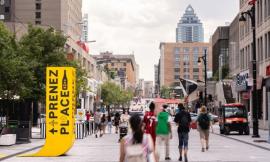
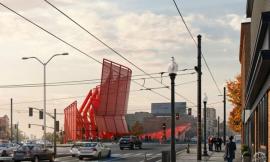
To start things off, I have continued development on the train museum design and wanted to generate an image that will allow me to study the new design within the main street context. As the design continues to evolve, I can re-insert new renderings into this Photoshop file to better visualize and understand the contextual relationships.
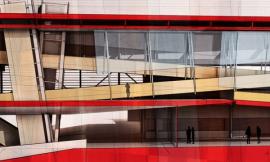
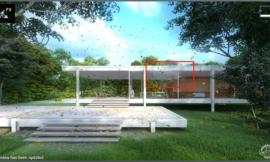
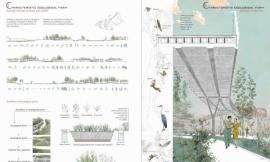
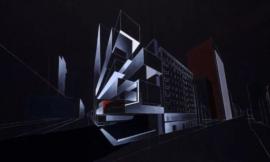
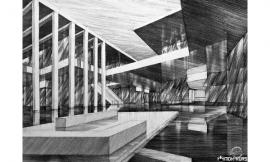
Clay Model Rendering out of V-Ray used to amp up highlights and shadows by setting the blend mode to “Overlay”. Also allows me to add shadows to Photoshopped textures.
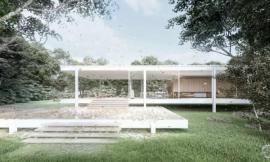
The base rendering after compiling all of the passes together. What I am looking for are nice highlights and shadows while still maintaining the detail in the really dark and light areas of the image.
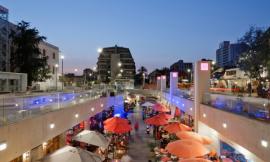
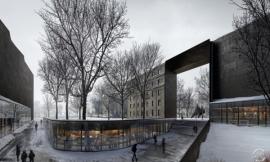
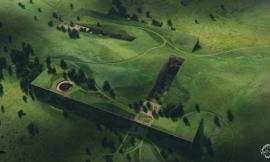
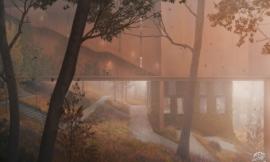
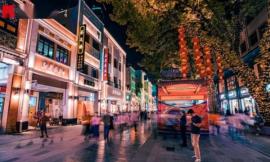
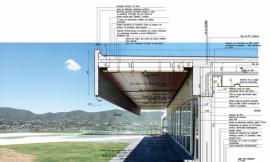
I used online imagery from certain street view maps to fill in the missing context. It would have taken me way too long to model all of this detail up so I opted to carefully stitch in this information. Since a lot of context buildings are in the distance, the low resolution images are fine to use.
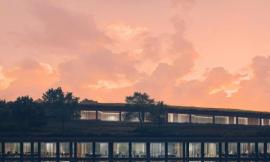
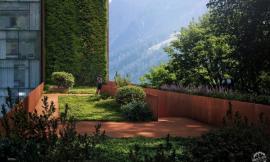
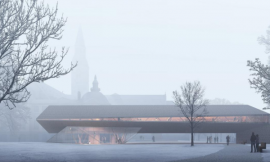
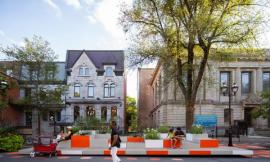
I have said this many times, but the sky sets the tone of the image. I found a good one that works well with the mood and lighting of the image. It has a subtle texture but doesn’t overpower the composition or draw too much attention. I often spend a lot of time searching online for the right sky to use in my illustrations because they play such a big role in the final reading of the rendering. I may put together a more in-depth post on the subject later.
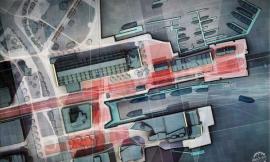
There is not a lot of vegetation in the foreground so I spent a little extra time inserting road and sidewalk textures. I almost always insert these textures via Photoshop now since rendering these materials come out looking too “perfect”.
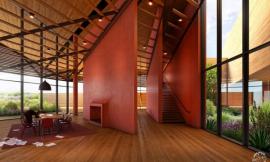
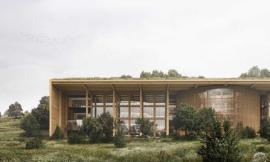
The last few steps included tweaking the facade material on my building design as well as dropping in entourage and lighting up the railroad crossing signals. This step of the illustration seems like it could go on forever as there is always an endless amount of things to tweak and adjust. However, a big part of this step is knowing when to stop and when you’re not getting a return on the time being invested.
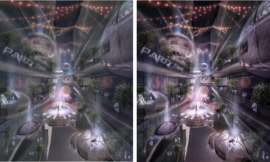
Here, I added some quick color overlays and some glare to the left. This step only took a few seconds but amps up the atmosphere of the image and brings in a little warmth.
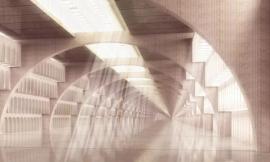
7. HDR and Enhanced Detail/HDR and Enhanced
我觉得使用Topaz Photoshop 插件来锐化图片,会起到HDR的效果,这样很不错。
Finally, I like to jump into the Topaz Photoshop Plugin to help sharpen the image and give it a slight HDR effect.